
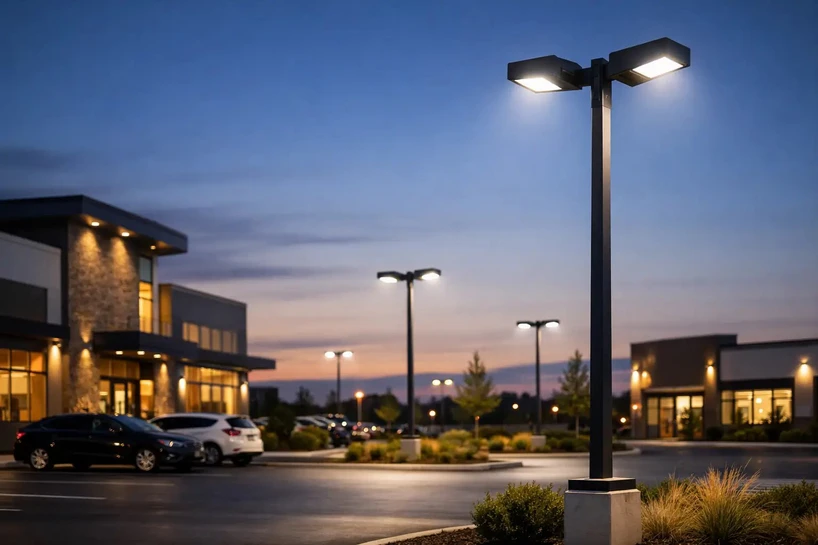
A parking lot fixture can have the right wattage, lumen output, and distribution pattern and still perform poorly if it is mounted on the wrong pole. Pole height, material, base design, wind rating, and mounting configuration determine where light lands, how long the installation lasts, and whether the site can be serviced without expensive corrections. This outdoor lighting pole guide is built for commercial buyers specifying new construction, replacing damaged poles, or upgrading legacy HID site lighting to LED.
Start With the Site, Not the Fixture
The first decision is not whether to buy a 20-foot or 30-foot pole. It is what the site needs to illuminate. A pedestrian walkway, compact retail lot, loading area, multifamily drive lane, and large open parking field all require different mounting heights and light distributions.
Map the property by task. Identify vehicle travel lanes, parking rows, entrances, accessible routes, crosswalks, loading zones, building perimeters, gates, and areas where surveillance cameras need consistent visibility. Then establish the required light levels and uniformity based on the property type, local requirements, and the project photometric plan.
Higher mounting heights spread light over a wider area, which can reduce the number of poles in an open lot. The trade-off is that taller poles can create more visible glare, require larger foundations, and make service more involved. Lower poles provide a more contained light pattern and often work better near buildings, pedestrian paths, and property lines, but they may require closer spacing.
For a straightforward replacement, do not assume the existing pole is still the correct specification. Older metal halide or high-pressure sodium fixtures often used different output levels and distributions than modern LED area lights. A lighting layout should be reviewed when fixture wattage, lumen package, mounting height, or pole locations change.
Outdoor Lighting Pole Guide: Choosing Height and Layout
Commercial outdoor poles commonly range from 12 to 40 feet, with 20, 25, and 30 feet frequently used for parking lots and general site lighting. Height should follow the application and fixture distribution rather than a rule of thumb alone.
A 12- to 16-foot pole is often appropriate for pedestrian-scale spaces, entry drives, sidewalks, small courtyards, and bollard-adjacent lighting. These installations keep the light source closer to the ground and can improve visual comfort where people walk. They are not usually the best choice for covering broad parking fields efficiently.
A 20- to 25-foot pole suits many small and mid-sized retail lots, medical offices, apartment communities, and business parks. It provides practical coverage while keeping the fixture low enough to control spill light near neighboring properties.
A 30-foot pole is a common choice for larger parking areas, industrial yards, and expansive drive lanes. Heights of 35 to 40 feet are generally reserved for major open areas, ports, distribution centers, sports applications, and other sites where a qualified photometric design supports the added height.
Pole spacing depends on mounting height, fixture distribution, lumen output, and required foot-candle levels. A Type III area light, for example, is intended to throw light outward along a roadway or lot edge, while a Type V distribution is generally used for a more symmetrical pattern around the pole. Mixing distribution types is often necessary. Perimeter poles may need a different optic than poles located in the center of a parking field.
Select the Pole Material for the Environment
Steel, aluminum, and fiberglass poles each serve commercial applications well, but they are not interchangeable.
Steel poles are widely used for parking lots, roadway lighting, industrial properties, and general commercial sites. They offer high strength and are available in round, square, and tapered profiles. A powder-coated finish helps protect the surface, but damaged coatings should be addressed before corrosion spreads. Galvanized steel may be preferred in harsher environments or where additional corrosion resistance is needed.
Aluminum poles are naturally corrosion-resistant and are a strong option for coastal areas, humid climates, campuses, and properties where weight matters during handling. They can cost more than comparable steel poles, and their structural rating must still be verified for the chosen fixture, brackets, and local wind conditions.
Fiberglass poles resist corrosion and can be useful around salt, chemical exposure, wastewater operations, and certain industrial settings. Their appearance and mounting options differ from metal poles, so they should be selected as part of a complete system rather than as a last-minute substitute.
Material selection should account for weather, exposure to road salt, maintenance expectations, and the expected service life of the property. A lower upfront price can become expensive when premature corrosion requires a pole replacement before the LED fixtures reach the end of their rated life.
Match the Pole, Fixture, and Mounting Method
The pole and fixture must be engineered as a compatible assembly. Confirm the fixture weight and effective projected area, often called EPA, against the pole's rating. EPA represents the wind surface presented by the fixture, brackets, arms, banners, and other attachments. A pole that supports one area light may not be rated for two fixtures on a crossarm or for a fixture plus banner hardware.
Common fixture mounting arrangements include a direct pole-top fitter, slip fitter, adjustable bullhorn, side arm, and drill-pattern mounting. Direct pole-top mounting is clean and practical for fixtures designed to cast light evenly around the pole. Side arms and tenons position fixtures away from the shaft, which can improve coverage in a particular direction but also increases the load on the pole.
Pay close attention to the pole top. A 2 3/8-inch tenon, 3-inch tenon, square pole drill pattern, and round pole drill pattern are not interchangeable. Confirm the fixture mounting instructions before ordering poles, tenons, adapters, or bullhorn brackets. This is one of the most avoidable causes of jobsite delays.
If the pole supports floodlights, sports lights, cameras, wireless equipment, banners, or holiday decorations, include every attachment in the structural calculation. Do not rely on the pole's height and shaft material alone.
Foundation, Anchor Bolts, and Wind Requirements
An outdoor pole is only as dependable as its foundation. The required concrete base dimensions, rebar schedule, anchor bolt pattern, and embedment depth are determined by the pole manufacturer, soil conditions, fixture load, and local wind criteria. The electrical contractor or project engineer should follow the stamped pole data and applicable local requirements.
Anchor bolts must match the pole base bolt circle and projection requirements. Using bolts from a previous installation without confirming dimensions can result in a pole that cannot be set correctly. A template is typically used during foundation placement to hold bolt spacing accurately.
Wind exposure deserves special attention in coastal areas, open plains, elevated sites, and properties subject to hurricanes or severe seasonal storms. Local building codes may require a design wind speed that changes the acceptable pole, fixture, and foundation combination. Decorative arms, banners, and multi-fixture brackets can substantially increase wind loading.
For replacement projects, inspect the existing concrete base for cracking, spalling, exposed reinforcement, damaged anchor bolts, and standing water around the base. A sound-looking pole does not prove that the foundation remains suitable for a new LED fixture package.
Plan Electrical Access and Maintenance Up Front
Most commercial poles include a hand hole near the base for wiring access. Specify its location so it faces a practical service direction and does not create an access problem next to curbs, landscaping, or traffic lanes. Verify that the hand-hole cover, grounding provision, wireway space, and base cover are included or specified as needed.
Confirm the fixture voltage before purchase. Many commercial LED area lights operate across a 120-277V range, while larger projects may use 347-480V equipment. The pole itself does not set voltage, but conduit, wiring, photocells, controls, and fixtures must all match the electrical system.
Photocells, motion sensors, networked controls, and scheduling systems can reduce operating hours and simplify site management. They also add wiring and compatibility considerations. A fixture with an integrated receptacle or sensor-ready option may be useful, but only if the controls strategy has been decided before installation.
What to Confirm Before Ordering
For project quantities, create a pole schedule that ties each location to its fixture and mounting hardware. Before releasing an order, verify these details:
- Pole height, shaft shape, finish, material, and base type
- Wind rating and EPA capacity for every fixture and attachment
- Fixture mounting style, tenon size, drill pattern, and bracket quantity
- Foundation drawing, anchor bolt template, and local code requirements
- Voltage, wire access, photocell or control provisions, and grounding needs
This schedule gives contractors, purchasing teams, and installers one reference point for avoiding mismatched components. It also makes future maintenance easier because the property has a clear record of what was installed at each location.
Last Stop Lighting can help commercial buyers coordinate LED area lights, poles, mounting accessories, and project quantities before material reaches the jobsite. A few minutes spent confirming pole ratings and mounting details can prevent a much higher cost after concrete has been poured.